MOMENTO™ Crafting Tips & HintsUpdated a year ago
As you're getting started with your new SINGER® MOMENTO™ craft cutting machine, take advantage of these pro tips regarding the machine itself, materials, blades, software, and presses.

Cutting Machine
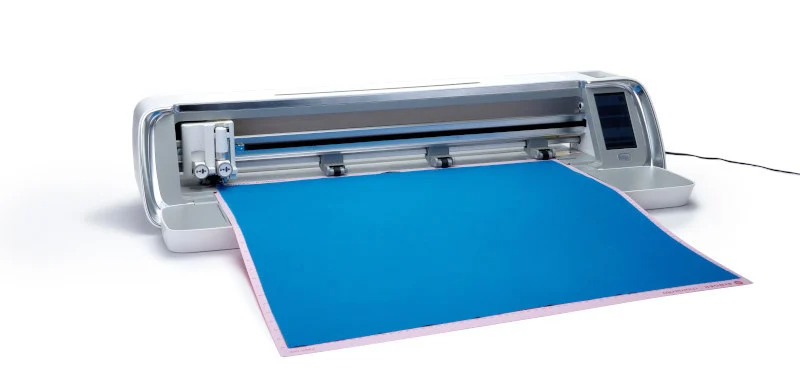
- For best results, all 4 pinchwheels need to be in contact with material or mat.
- Don't place pinchwheels in the zones indicated by the symbol on the machine. These areas do not have the grit on them and can cause the material or mat to not feed properly.
- The pen adapter is for calibration purposes only, when using the adapter in the right tool carriage, be sure to snap the pen in fully and ensure that the adapter is fully on the pen and seated over the groove on the pen. When installing the adapter in the machine, the locking mechanism will go over the teeth on the adapter as it would with the groove on a blade.
- If having difficulty removing the adaptor from the pen, gently twist it to help it over the groove on the pen.
- If using the print-then-cut feature of the machine and the cuts are not lining up to the software, this is when it is necessary to calibrate the camera on the machine. Refer to your manual for calibration instructions.
- When working with a new material, it is always recommended to perform a test cut. You can perform a test cut directly from the machine. When on the home screen of the LCD, first select the arrows on the upper right hand side. Here you can adjust the speed and force of the blade to find the settings that are right for your specific material. When you have selected a speed and force, select Begin Test Cut to perform your test cut.
- The test cut shape on the machine is a 1/4" square.
- Getting to know the optimal force settings for your MOMENTO™ cutting machine is a little bit art and a little bit science. Refer to this Recommended Force Settings Guide to get started.
- The machine comes with built in guides on each side of the door to help with loading mats. When using a smaller mat, always align to the left guide.

Crafting Materials
- When working with thick material, move pinch wheels to the side so that they are on the mats, but not on top of the material.
- Some materials might need to be taped down onto the mat. Painters tape is great to use for these projects and materials. This ensures that your material stays in place while cutting the thicker materials.
- Sometimes vinyl that has been rolled tightly at the store or in storage will keep wanting to peel off the mat and curl. Painters tape is great in these instances as well.
- When removing materials from the mat, it is better to flip the mat face side down (so that the sticky side with your material attached is down against your work surface) and then peel the mat away from the material. This creates less chance of bending or wrinkling the material.
- Heat Vinyl Transfer should always be applied to the mat with the shiny side down. Don't forget to mirror your design in the software before you send it to cut.
- The Rotary blade can be very useful to cut felt.
- When cutting leather, place the shiny side of the leather down, hide or rough side up.
- If creating heat transfer vinyl designs for later use, wax paper can be used to separate precut and weeded heat transfer pieces and prevent them from sticking together.
- Permanent vinyl can be used as a temporary stencil. Just quickly apply a press, iron, or even a blow dryer to the vinyl. The heat will make the vinyl surface slightly tacky so it will adhere better to your blank for stenciling.
- Always perform a test cut when cutting a new material or changing settings to ensure that the proper pressure settings are selected and to prevent material waste.
- When weeding large items, it is easier to weed directly on the mat than to remove and do it on a non sticky surface.
- When weeding, if using permanent vinyl, the excess weeded vinyl can be used to collect your weeded pieces. Painters tape can also be used - pull about 6 inches off the roll and roll it with the sticky side out, then dob it onto the teeny excess weeded pieces to easily pick them up and contain them.
- What to do if your cut doesn’t go all the way through? It is important to check the cut before the mat is unloaded from the machine. While the material is still loaded in the machine you can lift up a corner to check. If it has not cut all the way through, you can perform a second pass straight from the machine. Simply press Repeat Cut and the machine will do one more pass over your cut. Check again to confirm if it has cut through, and if satisfied with the results, the mat can then be ejected from the machine.
- Multiple colors of the same material can be cut at the same time. Simply move all cut elements to the same mat and make the same color, and on the Send to Machine screen, position them accordingly with the colored material on your mat.
- When cutting fabric, iron the fabric first to get any wrinkles and creases out of it as these could cause issues when cutting and cause the material to not stick as well to the mat and lift up during cutting.
- The Brayer is also a great tool for smoothing out fabric on the mat and ensuring that all the fabric is flat and making contact with the mat for a clean cut.

Crafting Mats
- To place the clear plastic cover back on a 24" x 24" mat, it is helpful to roll the cover and then place it on one side of the mat and then unroll it to cover the rest of the mat. This allows for easier placement and alignment on the edges.
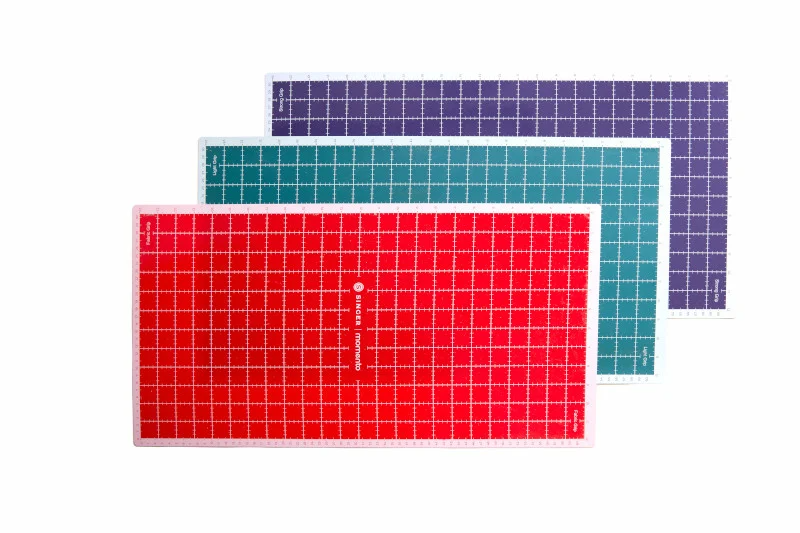
- Loading of the 24" x 24" and 12" x 24" mats: With these large mat sizes, it is important to ensure the mat feeds evenly. Load the mat manually, and align the mat edge with the edge of the door.
- Raise pinch wheels.
- Load mat under pinwheels until bottom edge of mat is aligned with the edge of the front door.
- Lower pinch wheel lever.
- Select Load Mat on the LCD screen.
- The mat will now be in position to start cutting and should have loaded evenly.
- If cutting a lot of fabric, the mats will need to be cleaned after multiple uses. If you notice that the fabric isn’t adhering well or is moving during a cut, this is an indication that the mat needs to be cleaned.
- To clean the mat simply use warm water and gentle dish soap. Wet the mat and use your hands with some dish soap, moving your hand in a circular motion to remove fabric fibers from the mat. Rinse off and let dry. Once completely dry, the mat is ready to be used again.
- Baby wipes can also be used to clean your mats.
- A lint roller can be used to remove dirt and debris from a mat.
- If a new mat is too tacky, simply pat it down with a clean paper towel or clean cloth. This will leave a small amount of fibers that will help reduce the tack and save your material from being damaged when removing from the mat. You can then follow the instructions above to "wet clean" your mat to get rid of the fibers.
- When working with lighter materials or any paper, after cutting it is easier to flip the mat over and remove the mat from the material, then trying to remove the material from the mat. This can help prevent the material from creasing, bending, or warping.

Crafting Blades
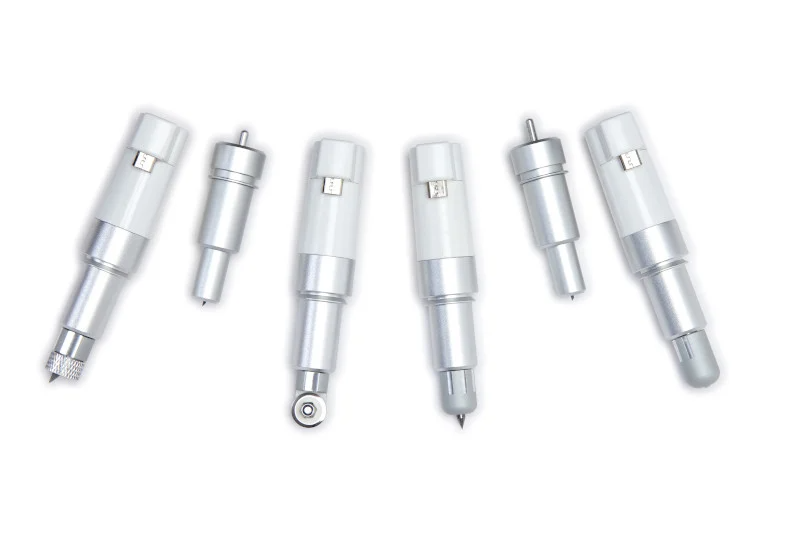
- Use the Deep Cut blade when making small, intricate cuts on vinyl and paper.
- The Basic Blade and Deep Cut Blade have the same type of housing. To quickly tell the difference between the two blades, it is recommended to use marker to mark the housings or create a small label to distinguish between the two.
- When inserting a specialty blade or tool (the rotary blade, engraving tool, and debossing tool) the green light means that the blade is inserted into the socket properly but does not mean that the blade is locked in place. You will need to ensure that the blade is correctly inserted into the socket, as noted by the green light, and that the locking mechanism is pushed closed. You should hear and feel a distinct click, indicating that the mechanism is securely closed and the blade is locked in place. If you don't hear or feel the click indicating proper locking, apply firm pressure to the locking mechanism. This extra push can help ensure that the mechanism is fully engaged and securely locks the blade in place. After pushing firmly, you can double-check to confirm that the blade is securely locked in place by gently pulling on the blade to ensure it isn't loose or can be pulled out.
mySewnet™ Crafting Software
- The filmstrip at the bottom of the software can be used for multiple purposes.
- You can view each individual cut or operation of a design that has multiple operations.
- An individual operation can be hidden by selecting the eye icon beside it. To unhide, simply select the eye icon again.
- An individual operation can be locked/unlocked by selecting the lock icon beside the design. Locking an operation keeps it in its current position so that no adjustments can be made to it. Simply unlock to be able to edit.
- Canvas size equals mat size
- If doing a matless cut or print-then-cut, select Custom Size on the home screen so that your canvas size will match the size of your material or cut.
- Weld vs. Attach vs. Group
- Group allows for selected, grouped items to be adjusted and moved as one.
- Attach allows for selected items to be sent to the mat in the same arrangement as on the canvas, they will not be separated.
- Weld joins selected items permanently, creating one design that will be cut out on the outermost border, as one operation.
- When making a project that involves multiple mats and materials, remember to change the material and the mat when the cut/operation is ready to be cut and you are on the Craft Project screen. All mats and materials will default to the originally selected mat and material, but on the Craft Project Screen you can adjust each individual mat and material.
- The Guide operation is to be used as a guide when creating designs. It will not cut nor print, it is simply to provide an outline or guide for design placement.

Heat Presses
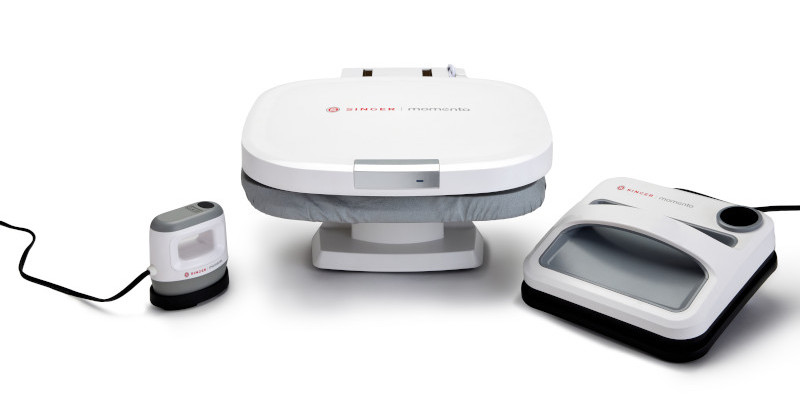
- If using heat transfer vinyl and the vinyl liner is sticking to the heat plate of the press, use parchment paper as a layer between vinyl and press to prevent sticking
